
This is one of the easiest things to make. Anybody can do this. I mean it. YOU can make this. I found the wallet and thought it was very neat and had some nice supple suede laying around and decided to use the scraps I had to make this. You can use something else, such as a heavier leather. The suede was super easy to work with though and it made the hand stitching VERY easy.
The shape is so simple you don't even need a pattern. Really. Just draw it out on a piece of paper. It is a long rectangle that flares at the bottom and then another piece shorter to match. Then you need a long thong to wrap it shut.

The wallet all foled up. I made mine big enough to house modern credit cards. Hey! I'm a modern viking! A girl's got needs!

The strap to wrap it up with. The strap is just hand stitched on with a small cross stitch that is reinforced. I used linen thread.
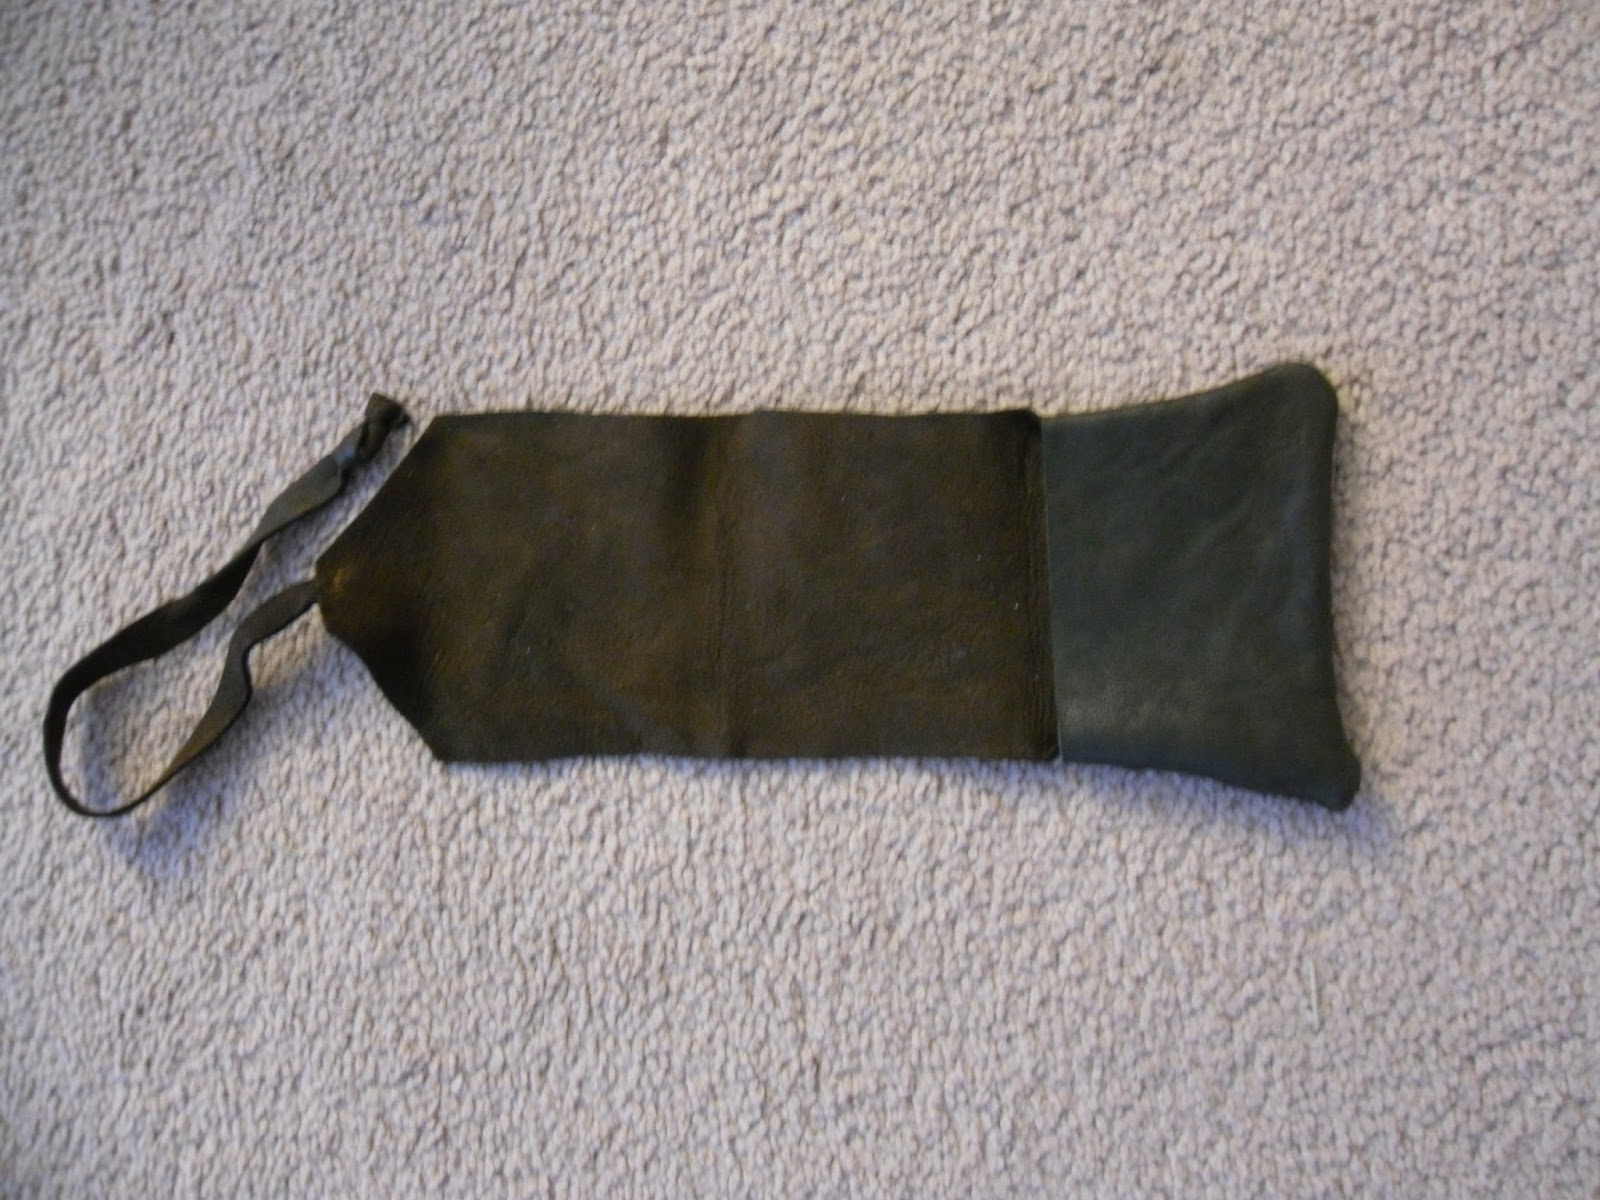
When you cut it out make sure that the long part is long enough to wrap completely around 1 time and then have enough to fold over a bit more at the top for that nice wrapped up look. You can see in this photo where the folds happen.

I stitched this right sides together so that it is turned here. The seam allowance is on the inside of the wallet.

This whole thing only takes 3 pieces. The long back, the short front and then the tie. Easy Peasy!

You can see the inside where the seam is.
Got make your favorite viking this wallet. It is easy and makes a great accurate accessory.
No comments:
Post a Comment